When it comes to working with steel it is a bit outside my comfort zone so I got the professionals in to do the blacking of the hull and a few different things to the cabin shell.
Grit blasting and blacking the hull
One of main the things to come up in the survey was that the hull needed blacking, this is to maintain/ protect it from corrosion. There are 2 types of blacking paint that can be used:
- Bitumen (last 2 years) - Once the boat has been cleaned (pressure washed) bitumen paint is relatively easy to apply (is not a 2 part mix) and can be applied over previous bitumen. Initial cost is lower but you have the extra cost of having to take boat out of water every few years to reapply
- Two Pack Epoxy (last 5 – 6 years) - Is more expensive, harder to apply (as is 2 part mix) and the boat needs extensive cleaning (shot blasted) as it cant be applied to a boat that has been blacked with bitumen previously. In the long term the costs even out as there is no need to take boat out of water every few years to reapply
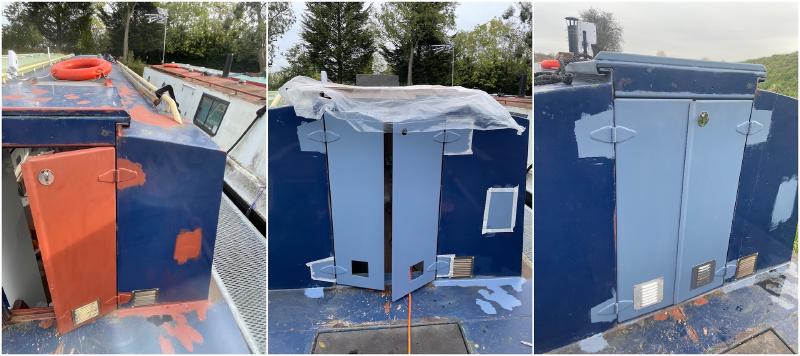
Below are extracts from the survey regards the hull condition and pitting.
I originally planned to blacken it with bitumen myself as I assumed the survey recommendations were probably to some extent over the top and a standard survey response to cover the surveyors back. Based on the survey I managed to negotiate a good chunk off the asking price so thought I may as well go for epoxy as it sounds better in the long run. Depending on who you speak to some will say there is no need to do the base plate as is 10mm thick (sides are only 6mm) and not exposed to air, but again it seemed to make sense to get this done. Not all boatyards have the facilities to do the base plate so I wonder whether some try and dissuade you from doing the base plate because of this.
Quotes for the work ranged between £4000 to £7000, in the end I went with Debdale wharf marina based on cost, the extensive details they sent through on the process and the feeling I got from speaking with them. When the boat is taken out of the water they jet wash the base and sides before using some Mad Max looking machine to move it around the yard.

The true condition of the hull is not fully know until the grit blasting has been done as the process can exacerbate any weaknesses that may exist. There wasn’t that much deep pitting that need welding, however there was a few issues with some of the rubbing strakes (metal bands round the front and back of the hull, kind of like bumpers). They had been continuously welded on the top and stitch-welded on the bottom (apparently this is common) allowing rust to get in from the bottom which meant when blasted they came away. Some could be cleaned and rewelded whilst others had to be removed, cleaned behind and rewelded.
The total cost of everything came in at around £5,000, the breakdown is below. Unfortunately I was away whilst they did the work so never got to see what I had forked out all this money for as the boat was back in the water when I got back.
Boat Lift, Grit blast movements        £416.67
Shroud and prepare boat                £300.00
Grit blast                             £1,650.97
2 PK Epoxy to hull sides & base        £955.82
Repaint stern band                     £145.83
Welding (13.5 hrs)                     £787.46
Subtotal                               £4,246.75
VAT @20%                               £851.35
Total                                  £5,098.10
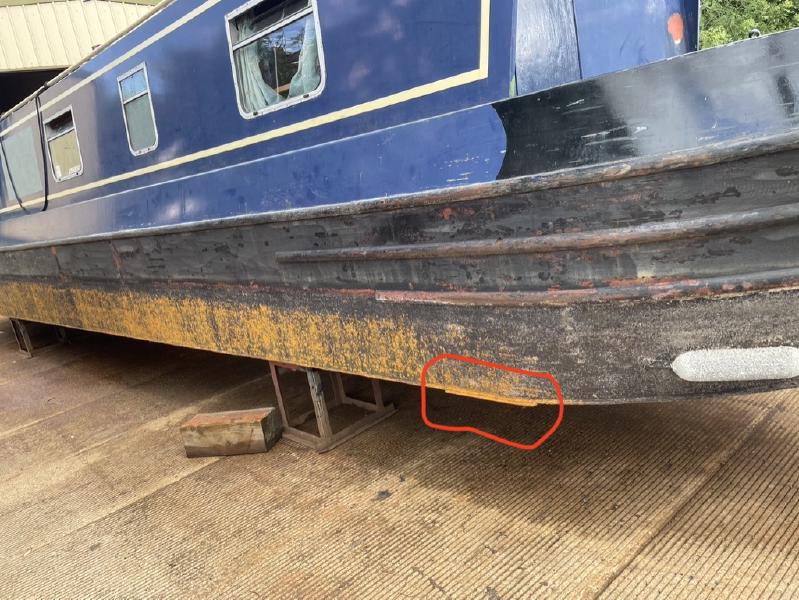
Cabin shell
There are a few other independent businesses on site at Debdale Wharf, one of them is Andicraft Fabrications whom I used to do a few jobs on the cabin shell. In total it all cost £2000, although this was more than I planned I can’t fault any of the work as Andy and his team did.
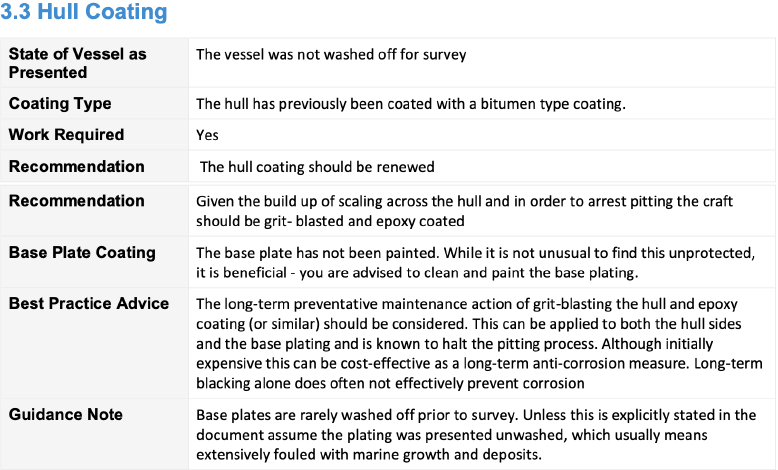
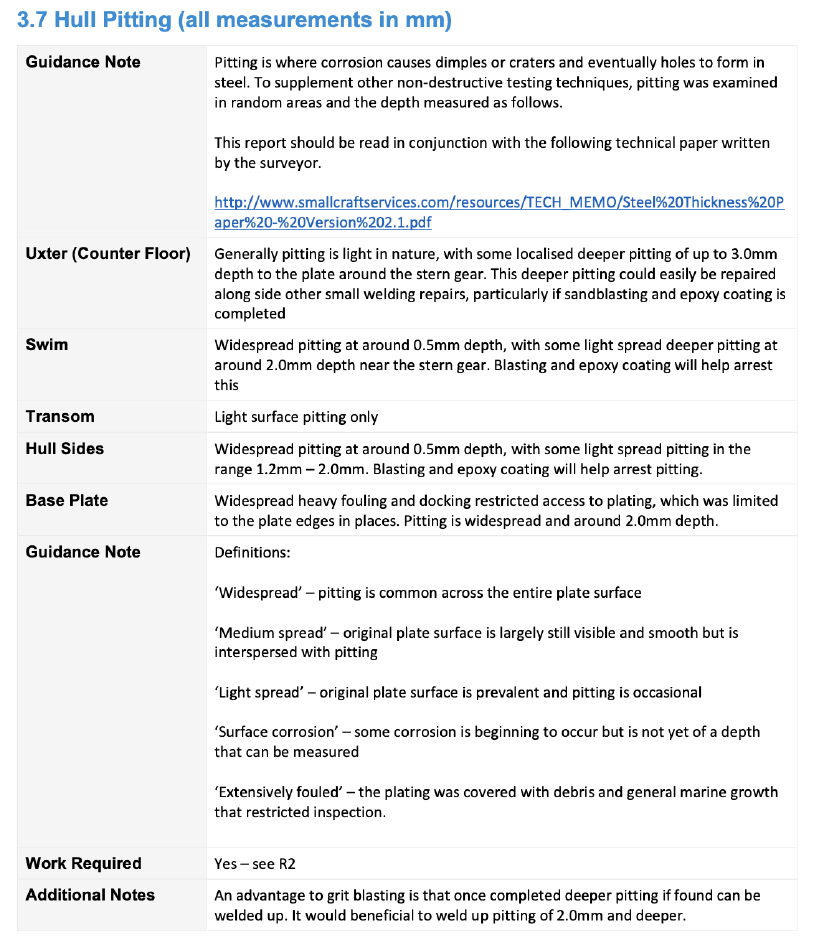
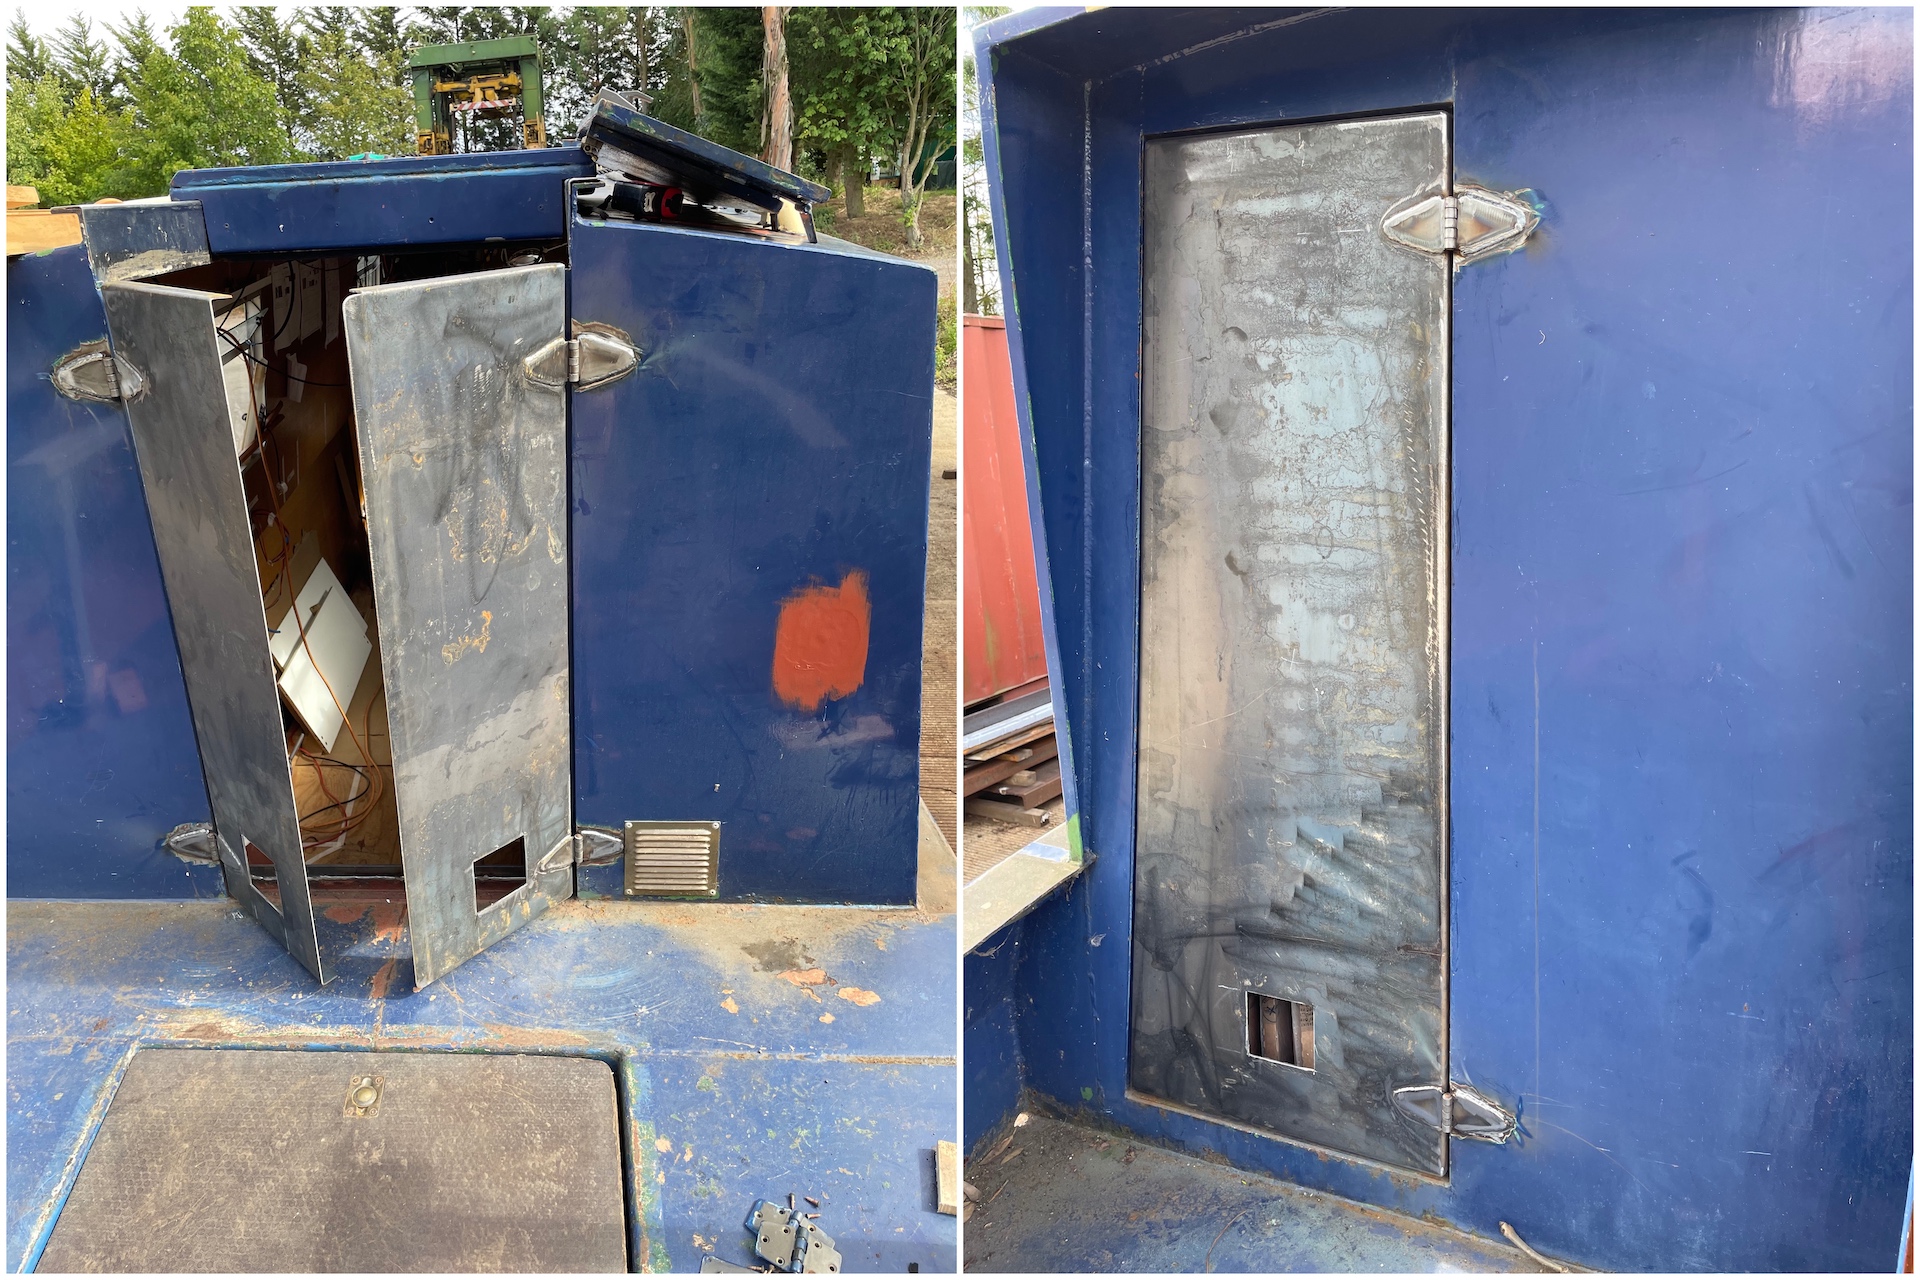
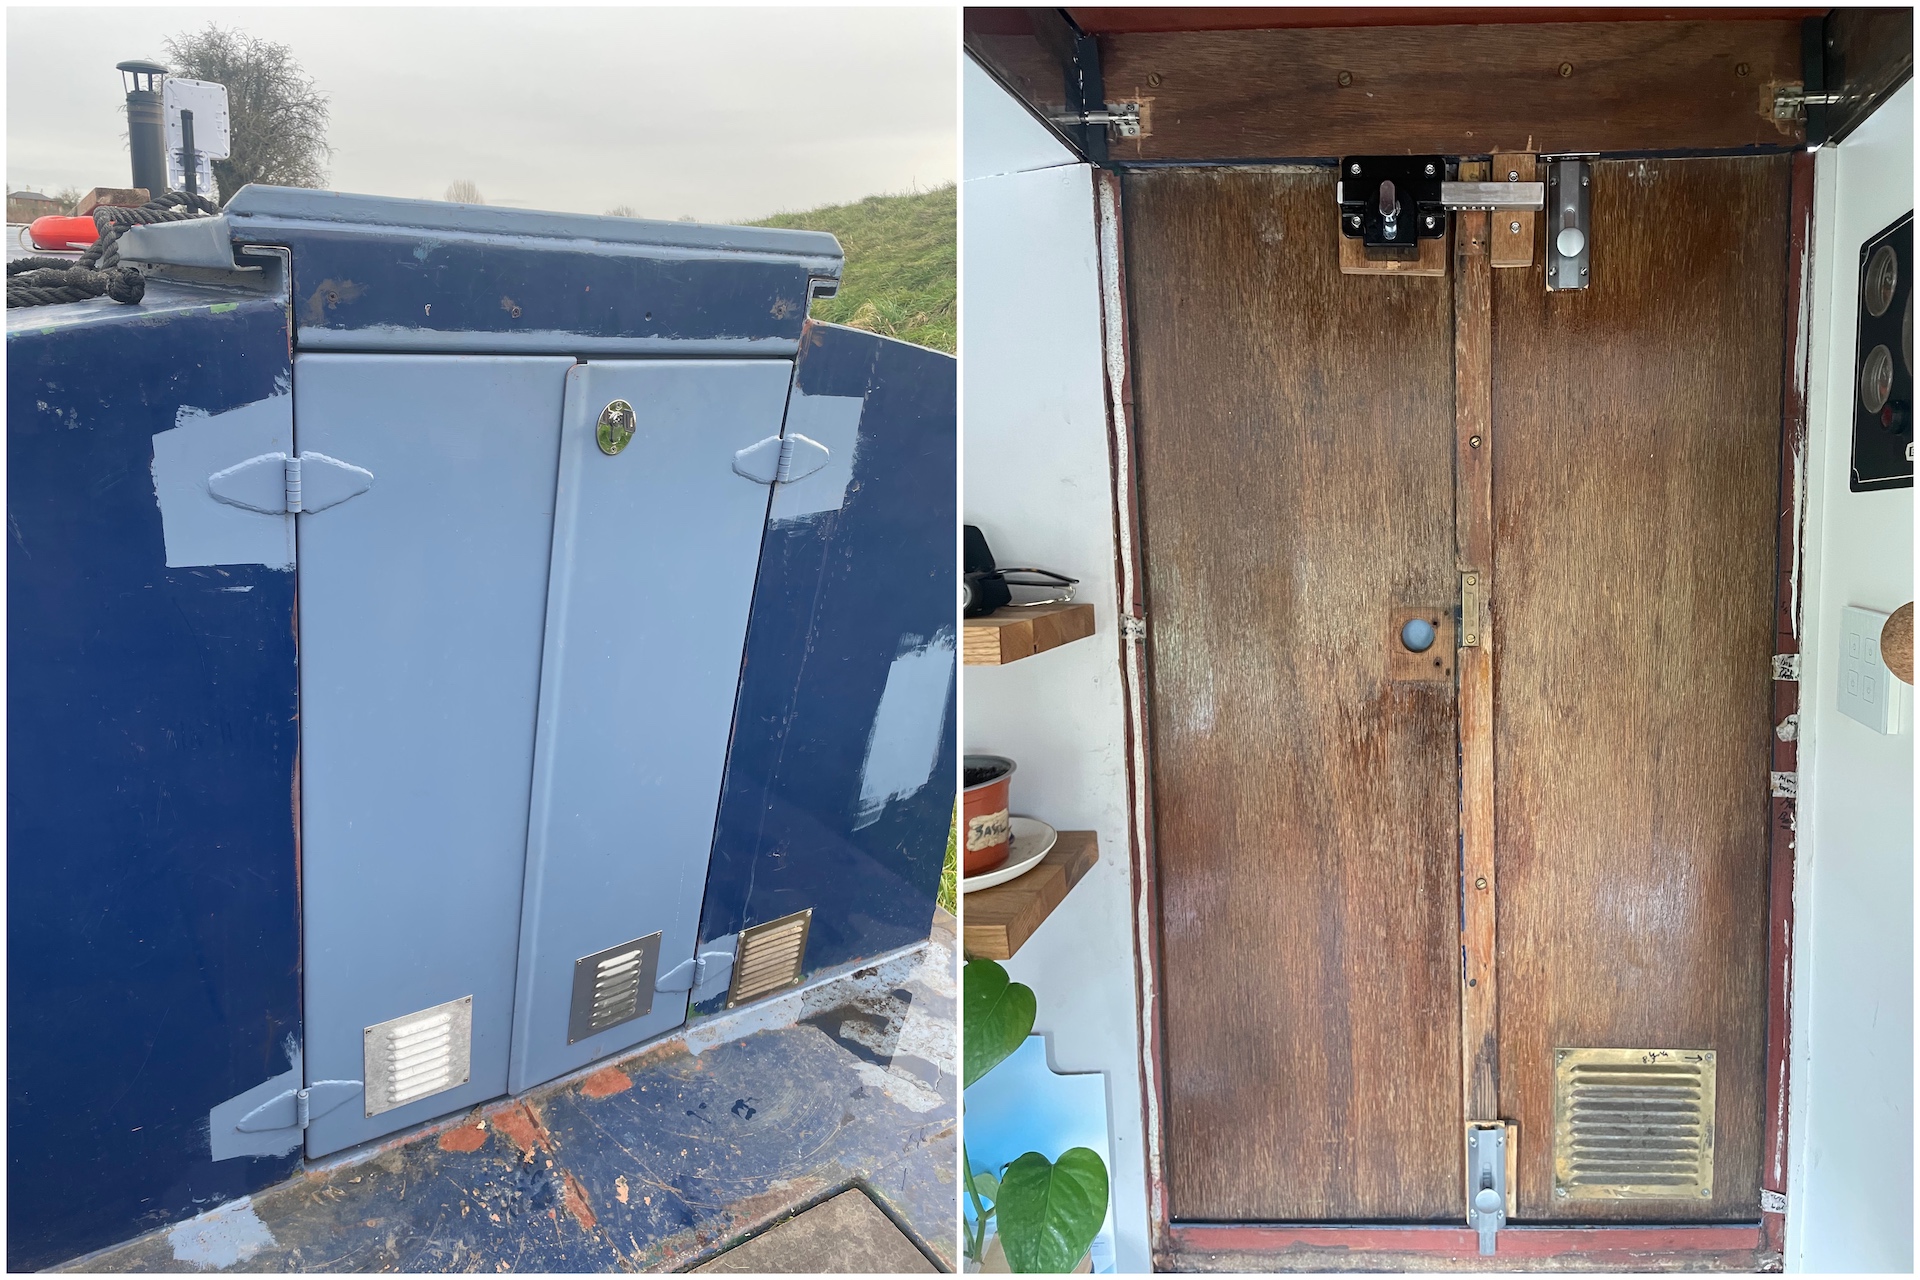
Doors
The original wooden doors were rotting at the edges and had exposed hinges, it wouldn’t have taken someone long to break in through them.
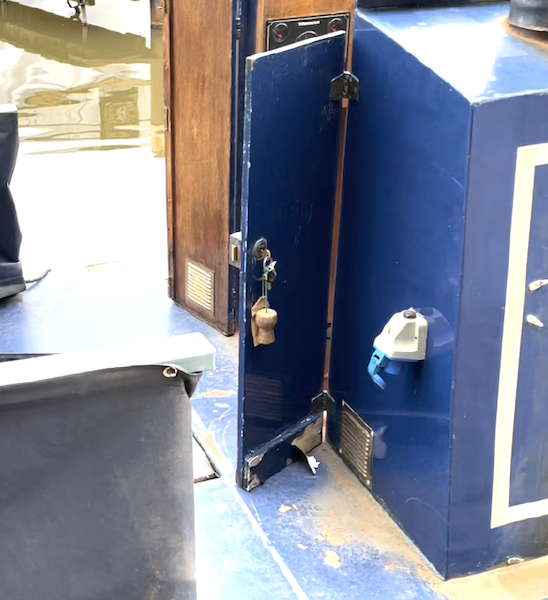
If I was going to live on the boat it needed to be secure so I replaced them with metal doors and welded hinges. The doors came unlined so I have temporary reused the wood of the old doors for the moment.
Like most things on a boat everyone has a different way to do stern door locks, the problem being the door depth as this rules out a lot of standard door locks. I originally fitted a reversible yale lock but didn’t like this so changed it for a gate lock. It is secure but I do wonder whether I should have gone for a garage lock which would have enabled me to be able to combine the locking of both the doors and the hatch.
Although the doors are functional, aesthetically they still need some work. I have to sand and stain the wooden lining (also on the hatch) and add batons round the edgeds to pad out the locks and make them look like shaker doors.
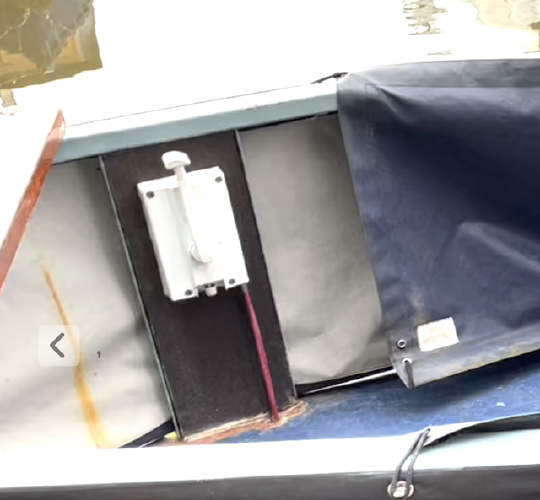
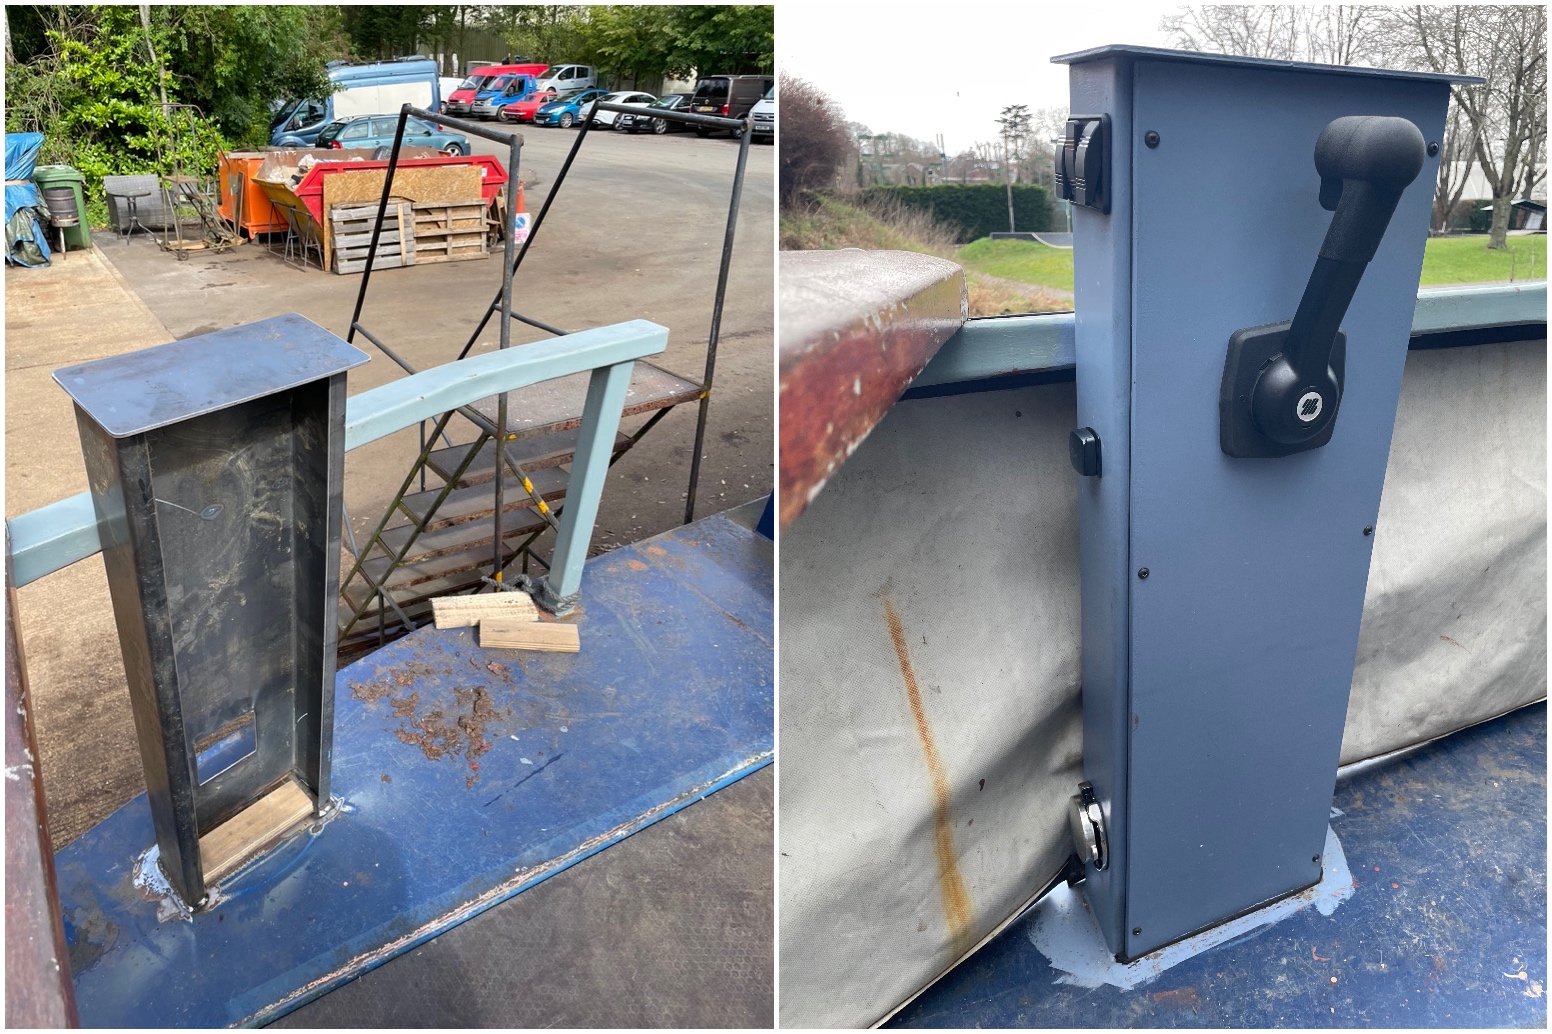
Control pedestal
The original control pedestal was too low making the morse control (throttle) awkward to use. On top of this the switches for the lights, horn and bilge pump were all inside the cabin, this was particularly problematic when going through tunnels.
Due to the way the morse control is fitted the front of the pedestal had to be detachable, therefore I went for metal back and sides with the front being a piece of 9mm plywood sealed with 3mm neoprene tape. I fitted a Ultraflex B183 morse control and ran 2 new Ultraflex C8 (33C) control cables, these have to be bought in pre-made lengths. This video (from about 4 mins 20) is really good at explaining how a morse control works. Although you move the control in one action it first uses 1 cable to put the engine into gear and then the other cable to apply the throttle. As I was rewiring the whole boat it wasn’t too much of an issue to extend the electrics to the pedestal, I also added a USB socket and the shore power outlet as in my view it is better to have it here rather on the back of the cabin.
Moving kitchen waste
As I was going for a reverse layout (kitchen at the stern) I needed to move the kitchen sink waste from the middle of the boat nearer to the stern. I could of just drilled another skin fitting myself but as I had the other work welding work been done I got them to cut the old one off and reweld it in the new location. On top of this I had a few holes for the old stove chimney, shore power and heating header tank holes on the cabin welded over.
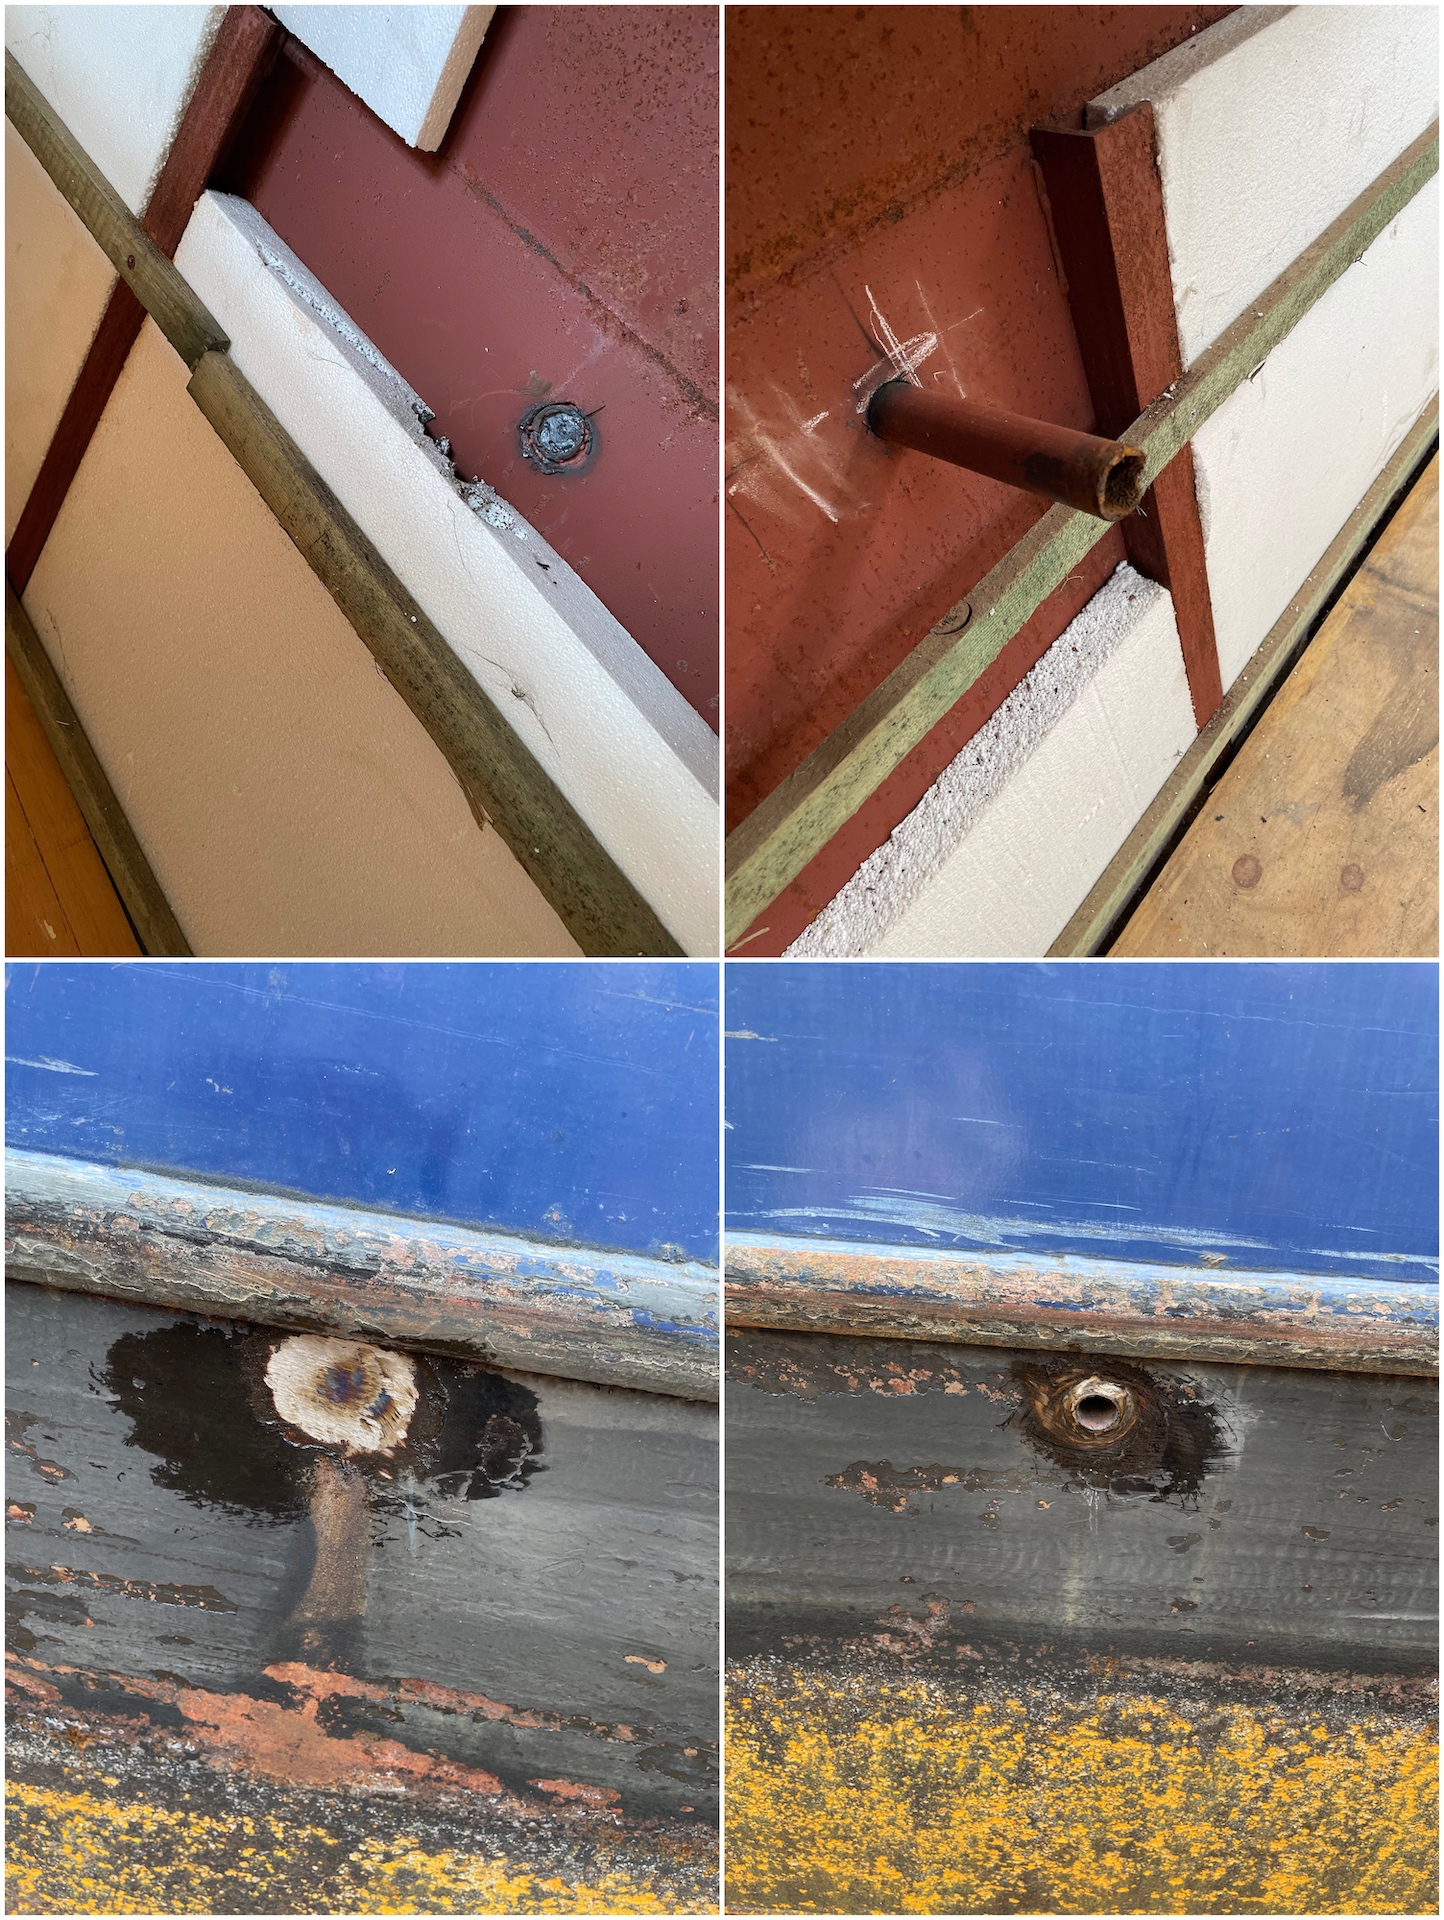
Sacrificial wear edge rubbing strakes (band)
This wasn’t something I planned to have done until Andy pointed out that the sacrificial wear edge (where the base plate meets side plate) was extremely worn, he was surprised it wasn’t picked up in the survey. When boats are built they leave the base plate edge proud of the side plate so this can be sacrificed when the boat rubs against locks or banks rather than allowing the welded joint itself to be damaged. Looking back at the survey it is mentioned however at that time I didn’t fully understand its significance.
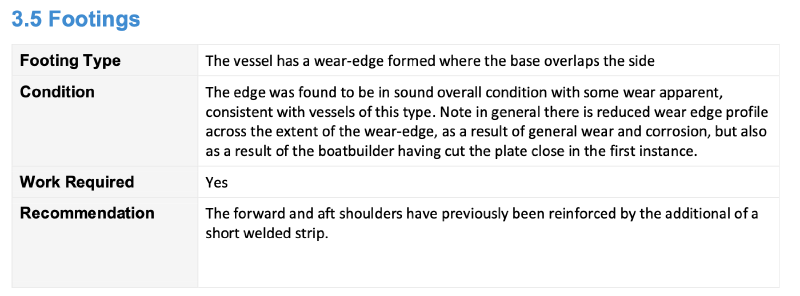
As described in the survey there are 4 metal strips welded at each corner of the boat, looking back through documentation I got with the boat I can see that the previous owner had this work done based on the survey recommendation when they bought the boat. Is kind of the same as shown in this video although the welded strips on mine look to be a lot shorter.
I took Andys advise and had a rubbing strake added to give this welded joint extra protection as I still have my L plates on so expect to have a fair few bumps along the way (don’t think it is possible to do locks without a few bumps). As someone once told me narrowboats are just like big dodgem cars.
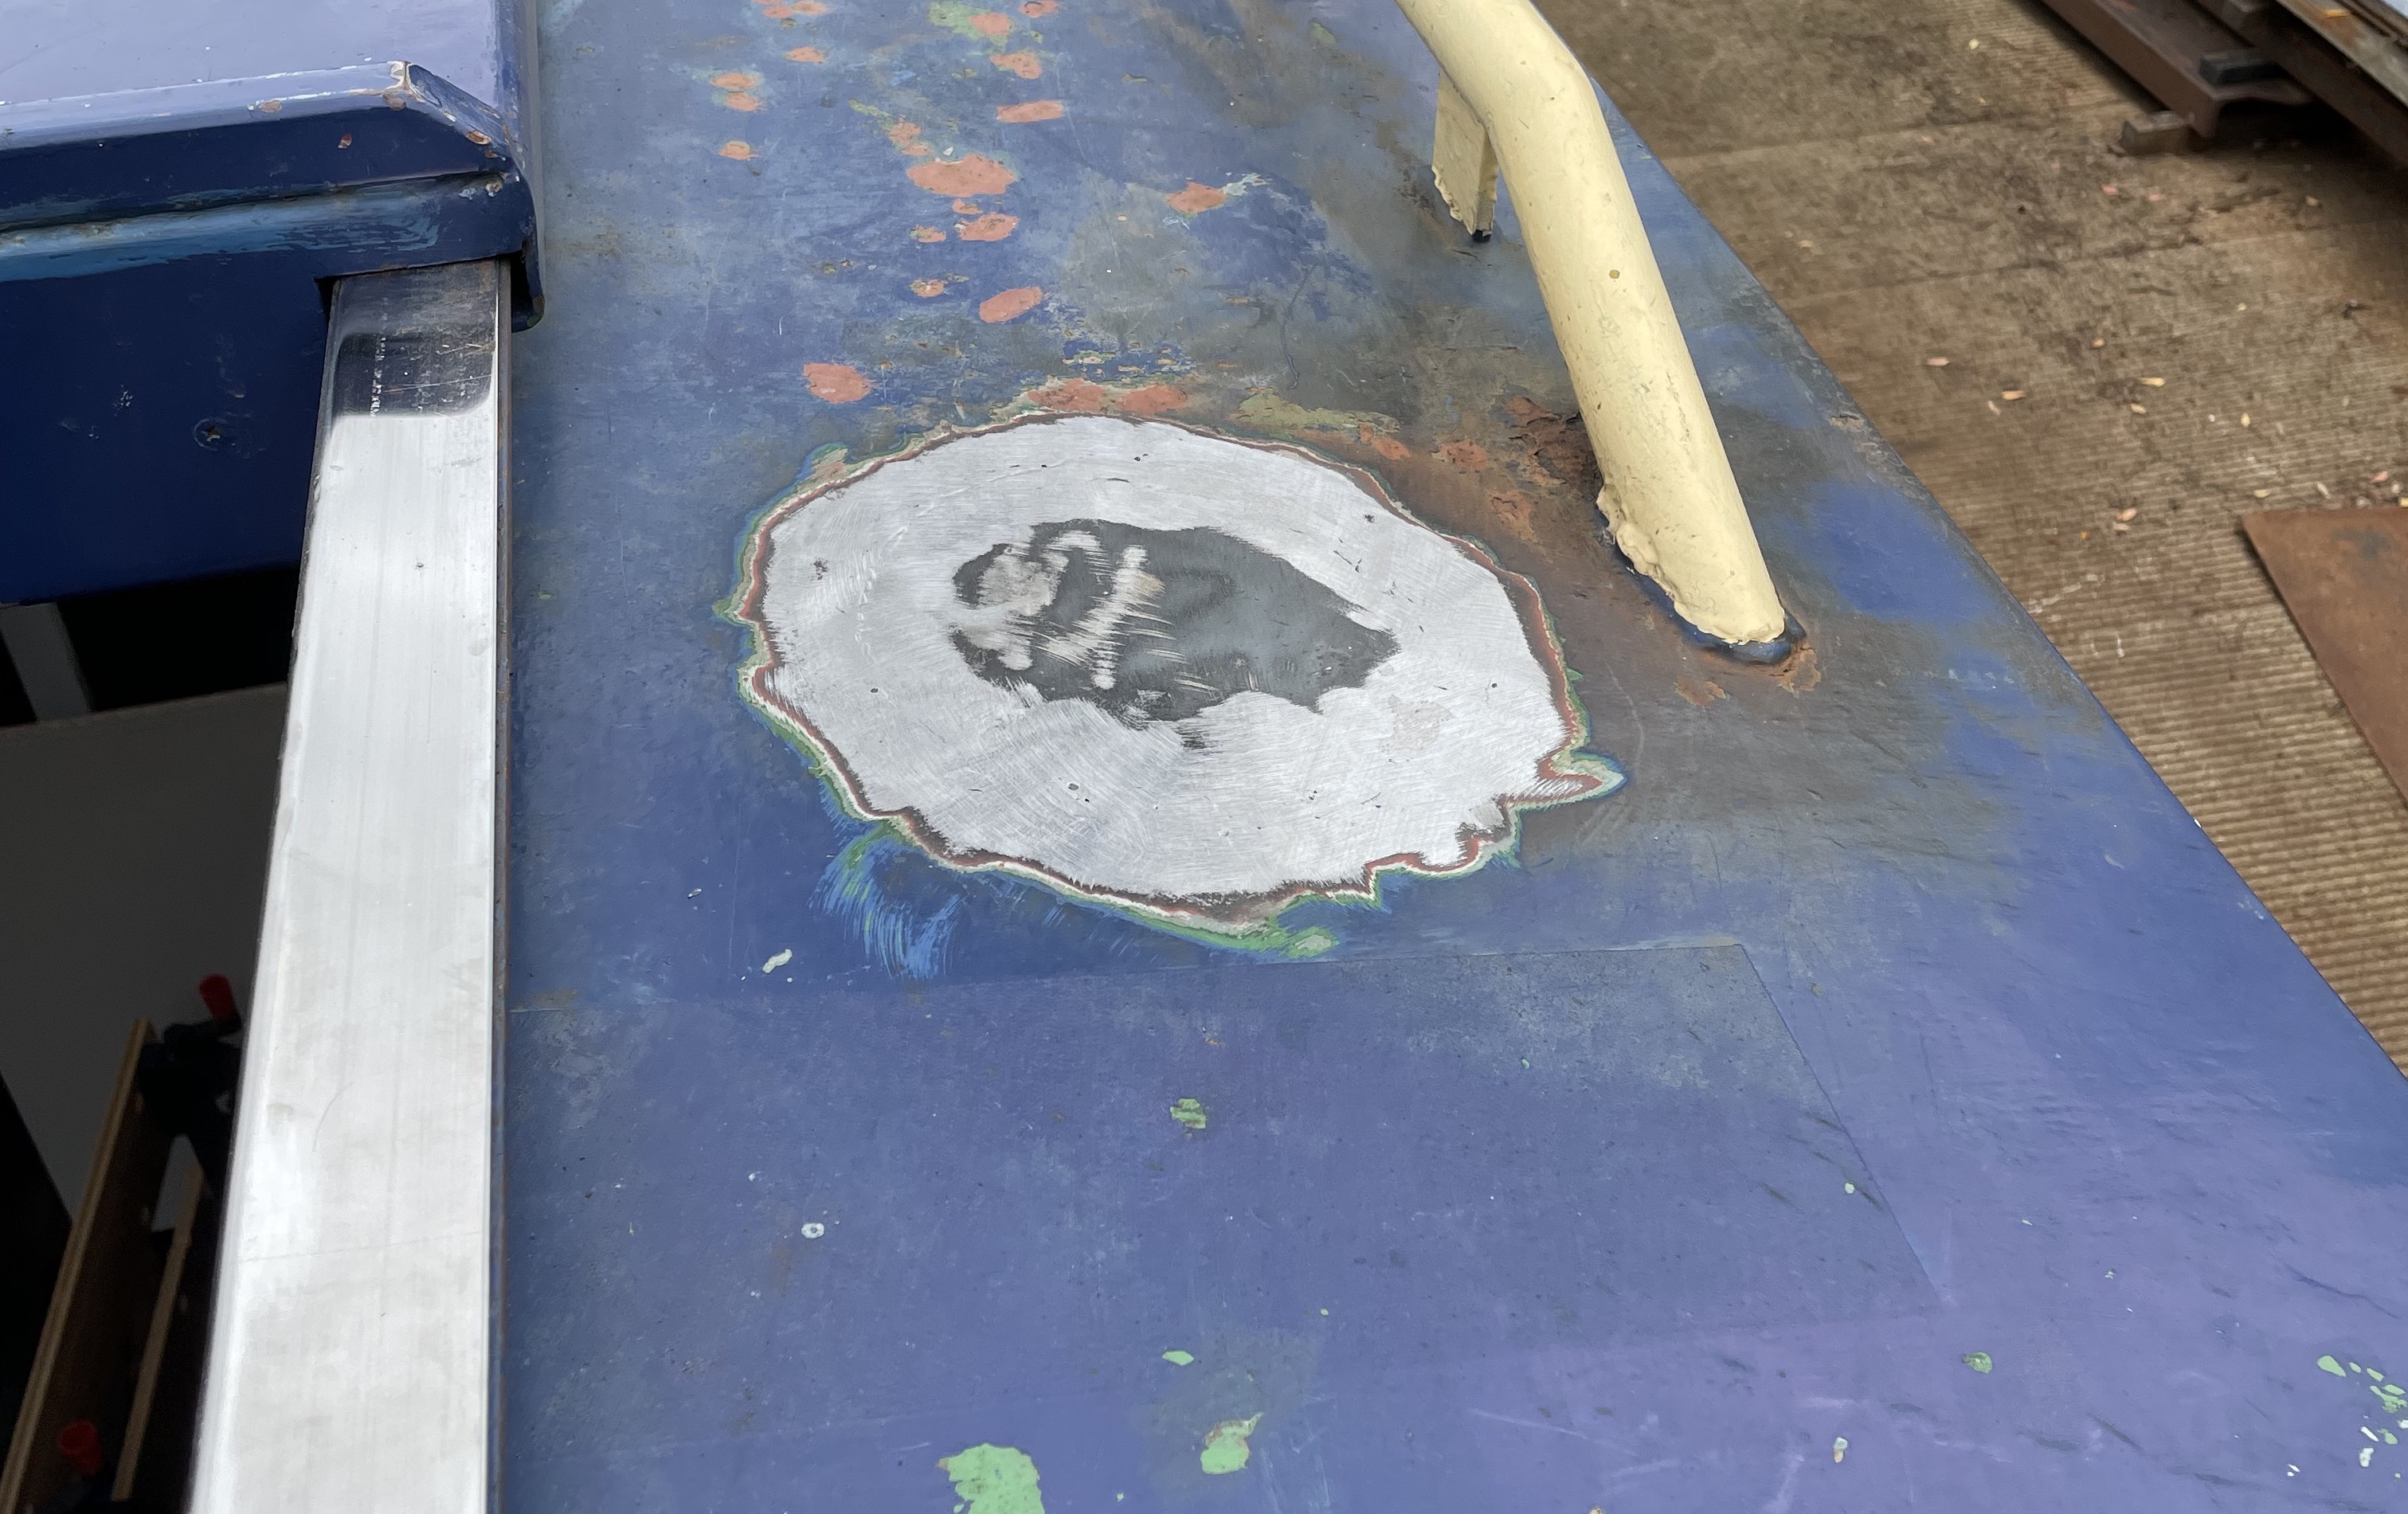
Painting
All the new metal work needed to be painted to protect it against rust, I initially used some red oxide that Andy gave me. After speaking with John Barnard (another business at Debdale) he advised that I should apply 3 coats of international one-up primer and undercoat and then a top coat. If you are considering doing any boat painting I would strongly recommend watching his tips and tricks videos, they are really insightful on the methods used and reasoning behind them. As it was getting late in the year I only had time to do 2 coats of undercoat before the weather turned. I plan to get the whole boat painted at the end of the year so I may not bother with the top coat for now as will be near on impossible to match the existing colour.
One really good tip I learnt is to mask off what you are painting, it makes it look a lot neater if it is straight edges of a different coloured paint rather than a random shaped splotch of paint.
I made the mistake of trying to fix scratches on the roof, my advise would be to not bother doing this unless you are planning to paint the whole roof when done. Is a lesson learnt but now looks 10 times worse than before with all the odd bits of paint compared to the few bits of rust it had. Luckily a lot of this will be covered when I add solar panels in the new year.